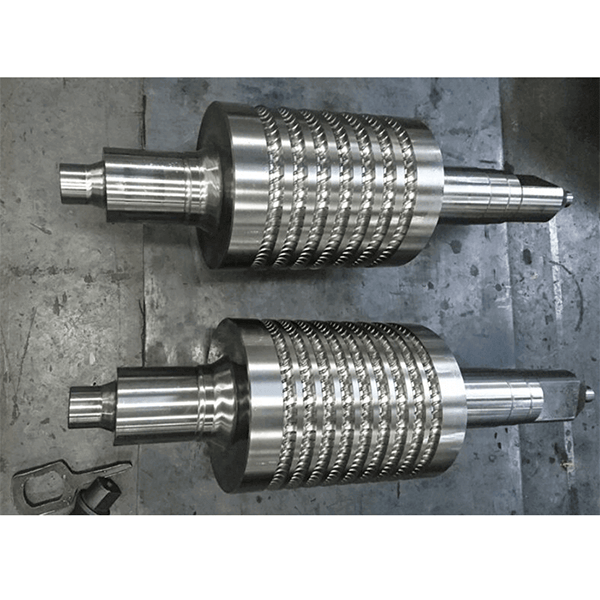
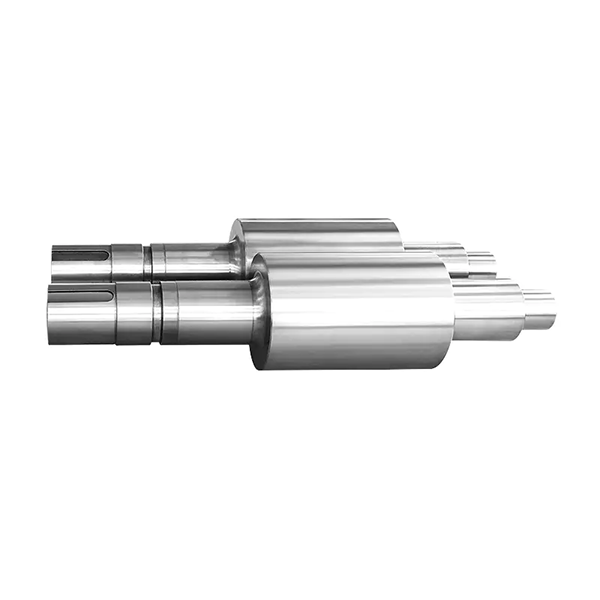
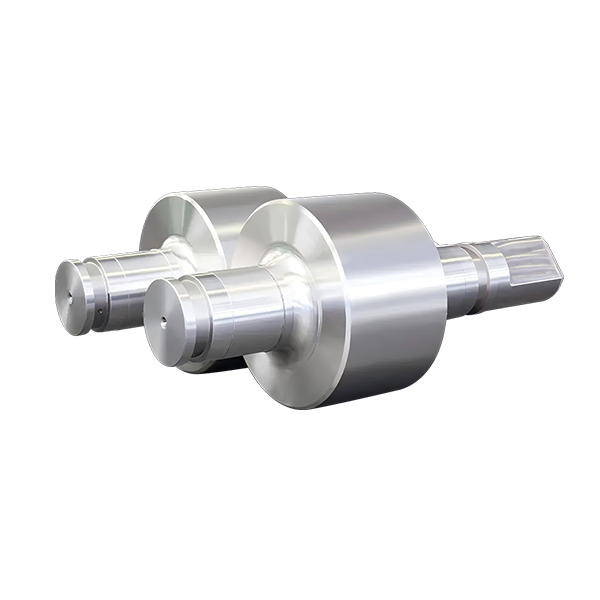
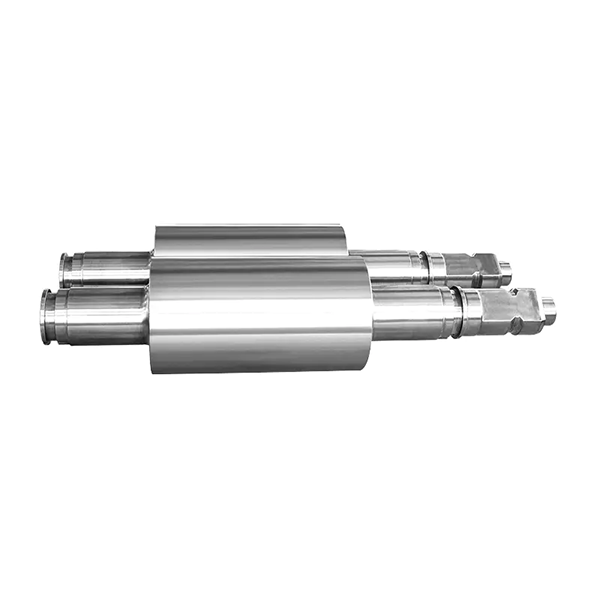
1. Roll removal procedure
(1) According to the capacity of the production management system, we determine which rolling-mill housings that need to change rolls and slots.
(2) Loosen the fixing screws of the guide, and remove the guide at the inlet and outlet.
(3) Set the relief pressure value: 5 kg (maximum 6 kg) for the pneumatic wrench; 600 bar (maximum 700 bar) for the hydraulic wrench.
(4) Buckle the special sleeve or hydraulic wrench into the bayonet of the roller ring locking device, and insert the pneumatic wrench into the special sleeve bayonet. Before that, make sure that the rotation direction of the pneumatic wrench or hydraulic wrench is in the direction of unloading the roller (clockwise for tightening, release for counterclockwise).
(5) Operate the pneumatic or hydraulic wrench to loosen the locking device.
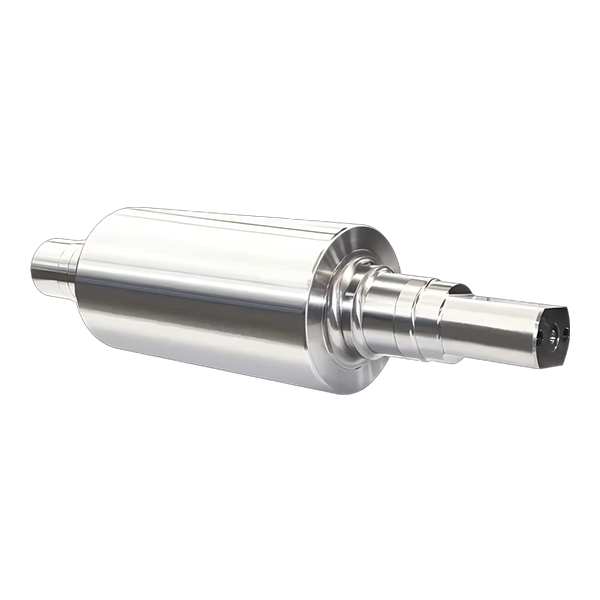
(6) Remove the loosened roller ring and locking device from the roller shaft in turn, and put them in a suitable place.
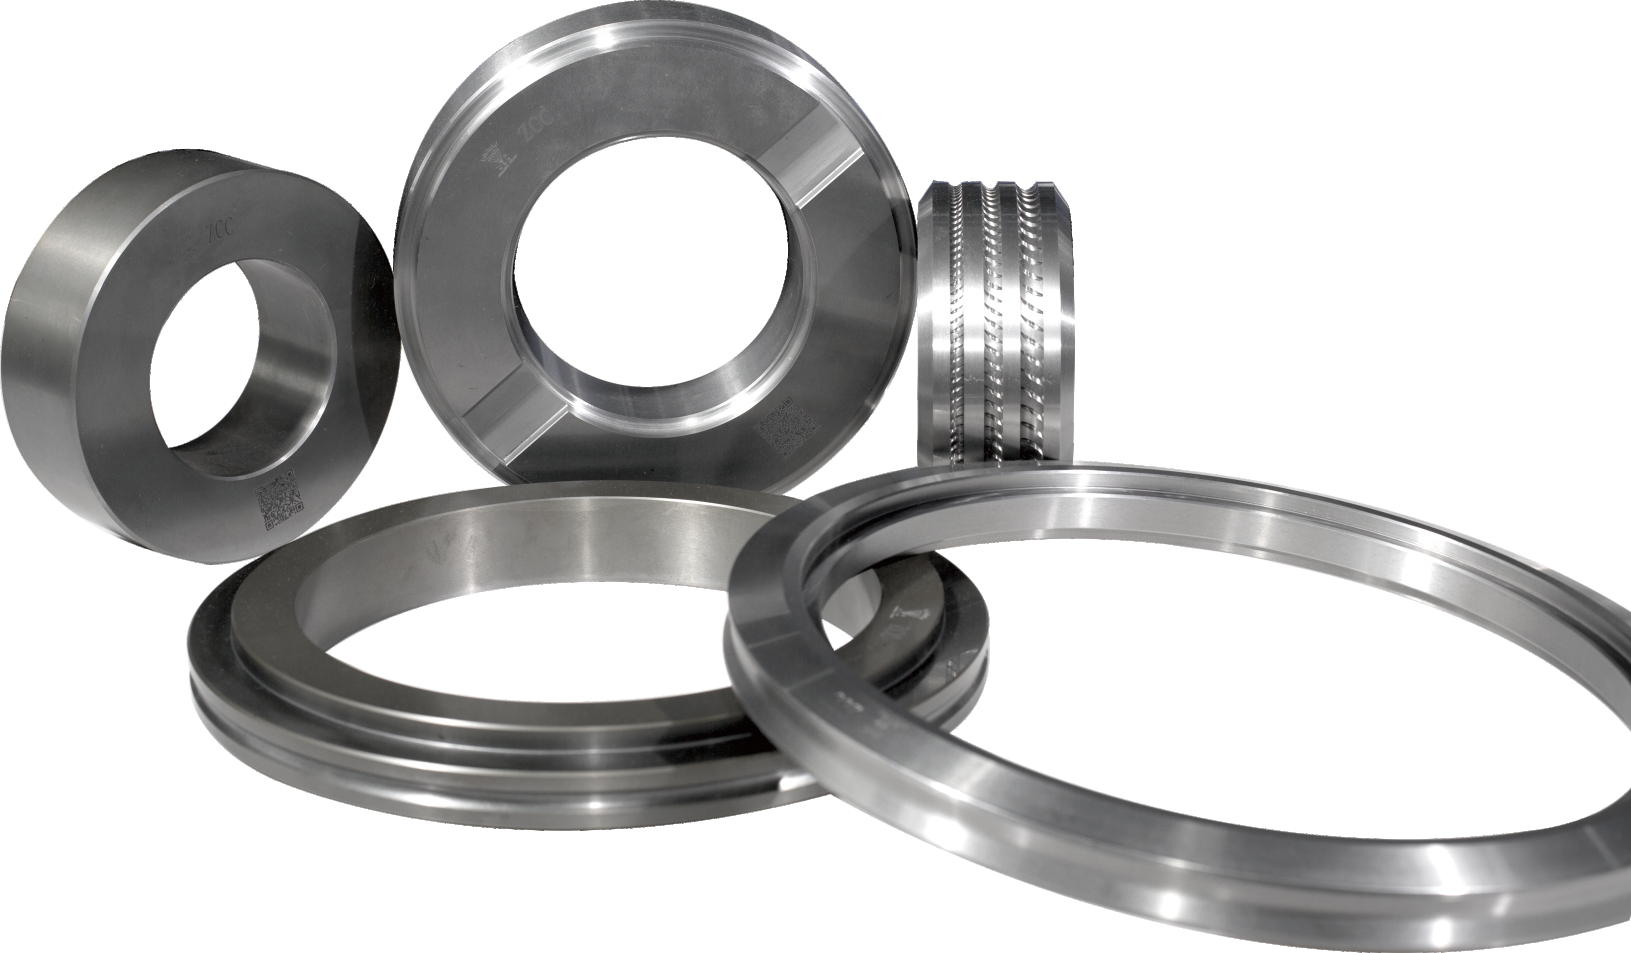
2. Roll Ring Loading Process
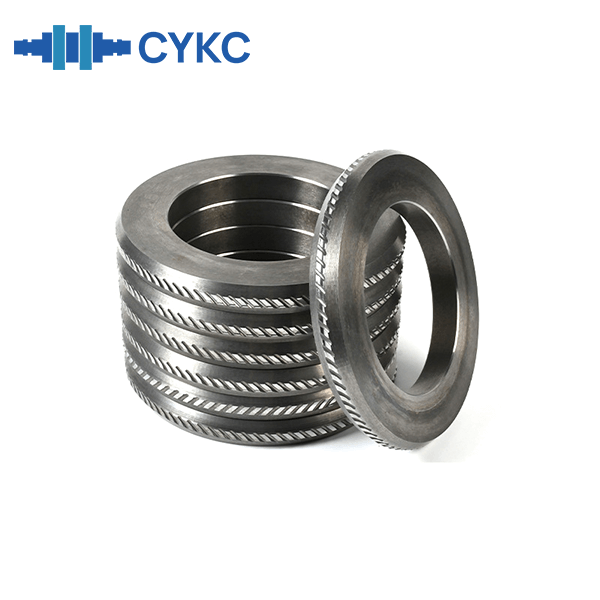
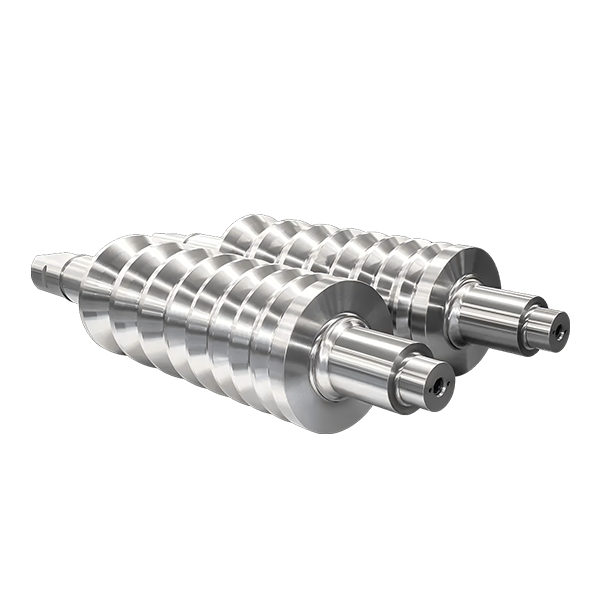
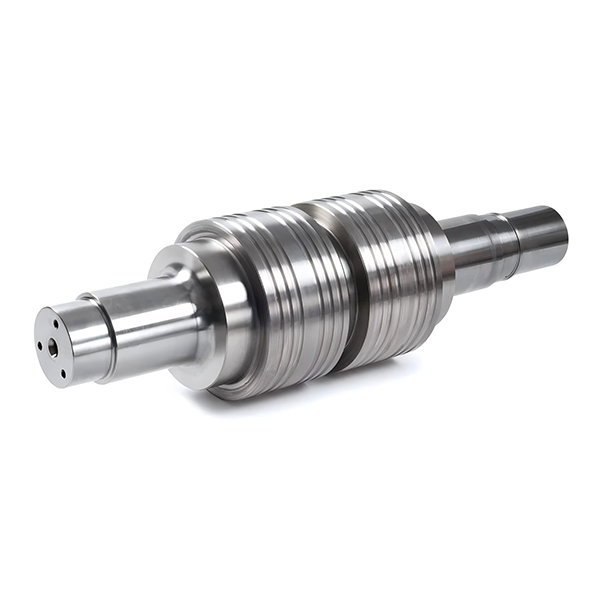
(1) According to the roll change notice issued by the process supervisor, confirm the roll ring diameter, roll ring number, and locking device of each roll that needs to be changed, and put the new roll ring on the operation platform at the side of the finishing mill and check its surface quality of the groove and the taper sleeve, etc., We should also pay attention to the marking when the production line is the wire rod and rebar.
(2) Cleaning and inspection of roller shafts, roller rings, and locking devices:
Polish the surface of the roller shaft with waterproof abrasive papers (grain size 800---1200), and then clean it with a tissue dipped with absolute alcohol.
Polish the inner and outer surfaces of the taper sleeve with waterproof abrasive paper (grain size 800-1200), then use a facial tissue dipped with absolute alcohol to repeatedly scrub the oil and impurities on the inner and outer surfaces of the taper sleeve on the locking device.
Cleaning and inspection of the roller ring. Use a tissue dipped in absolute alcohol to scrub repeatedly to remove oil and impurities on the inner hole and both ends of the roller ring.
(3) Install the spline flange on the bottom of the roller shaft.
(4) when the roll ring is installed on the roller shaft, it is necessary to distinguish the assembly of roll rings of different specifications.
When installing a 72mm wide roll ring, no 12mm thick flat gasket should be installed.
When installing a 60mm wide roll ring, a 12mm thick flat gasket must be installed. The installation position of the gasket depends on the number of grooves on the roll ring:
a. When there are 1 or 2 roller ring grooves, the groove edge distance is 22mm, and the gasket should be installed on the roller ring locking device;
b. When there are 4 roller ring grooves and the groove holes on the two sides are being used, since the edge distance of each groove is 10mm, the gasket with a width of 12mm should be installed on the roller shaft first, and there follows the roller ring which ensures that the distance from the bottom of the gasket to the center of the groove rolling is 22mm when using the middle two grooves since the edge distance of the middle two grooves is 22mm, the roller ring should be installed first, and the gasket should be installed on the locking device.
(5) After confirming the assembly of the gasket and the roller ring, we apply a thin layer of dry grease on the threaded section of the roller shaft, and then align the thread in the roller ring locking device with the screw thread on the upper part of the roller shaft and tighten it clockwise.
(6) Set the pressing pressure value: 4 kg for the pneumatic wrench and 350 bar for the hydraulic wrench. Buckle the special sleeve or hydraulic wrench into the bayonet of the roller ring locking device, and confirm that the rotation direction of the pneumatic or hydraulic wrench is in the tightening direction.
(7) Operate a pneumatic or hydraulic wrench, pressurize the roller ring and the taper sleeve, and repeat. When the taper sleeve and the roller ring cannot move each other, and the pressure gauge indicates 4 kg or 350 bar, we should pay attention to the pressure holding. It is 0.5-1 minute. During the pressing operation, it is not allowed to hit the roll ring locking device with copper rods or any other tools After the roll ring is pressed and assembled in all the finishing mills, the lower end of the square shaft end of the roll shaft can exceed the locking device by about 6.3mm.
(8) Loosen the operating button of the pneumatic or hydraulic wrench and disengage the sleeve, and remove the special sleeve.
Contact:cykc@cykcgroup.com.cn
(9) Use an oil-based pen (or paint) to draw reference points on the contact surface between the roller ring and the taper sleeve to check whether the pressure is dropped.
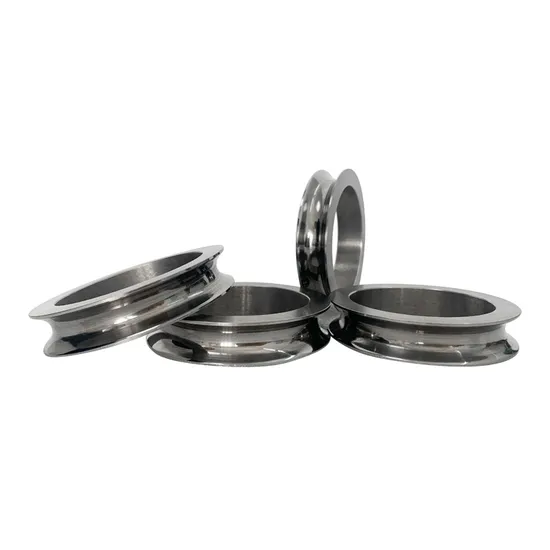
3. The installation of the roller shaft protection cover and guide of the empty rolling mill housing
(1) Confirm the rolling mill housing number where the protective cover needs to be installed.
(2) Carefully remove the spline flange on the roller shaft.
(3) Cleaning and inspection of the roller shaft and the empty protective cover.
Cleaning and inspection of the roller shaft. Check the surface of the roller shaft, if you find oil stains and rust, first polish it with waterproof abrasive paper (grain size 800-1200''), then clean it with facial tissue dipped in absolute alcohol, and then take an appropriate amount of dry grease and spread it evenly on the roller shaft, so that a thin layer of the oil protection layer is attached to the spline part of the tapered surface of the roller shaft.
Cleaning and inspection of the protective cover. Use facial tissue dipped in absolute alcohol to wipe off the oil and impurities on the internal spline fit of each part of the protective cover and the thread surface.
(4) Install the roller protection cover and the nut in turn, and lock the roller protection cover through the nut, and the locking torque is 250N.M. Be careful not to damage the seal when installing the roller protection cover.
(5) Install the threaded protective cap, and the locking torque is 550 N.M.
Contact: cykc@cykcgroup.com.cn


